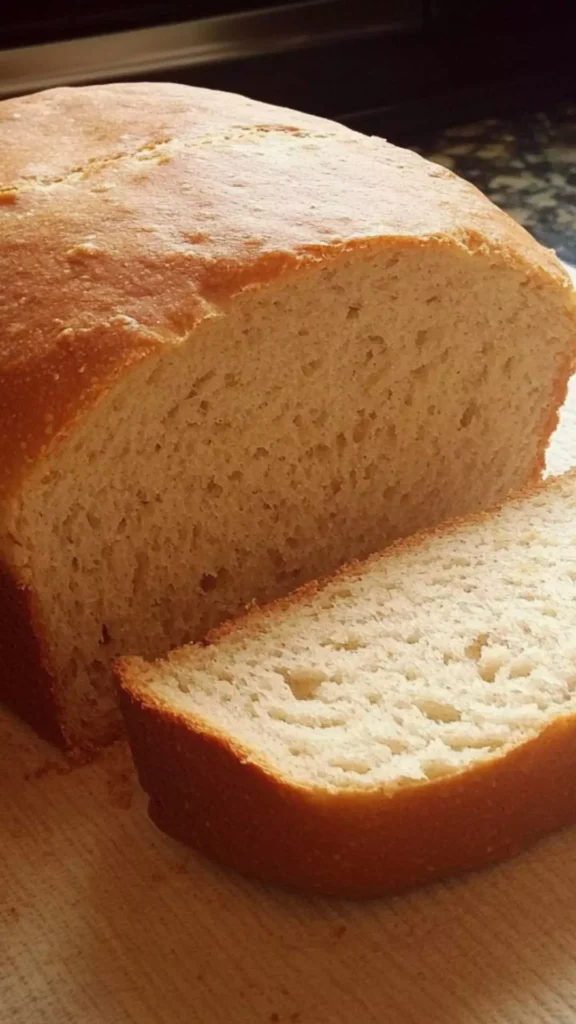
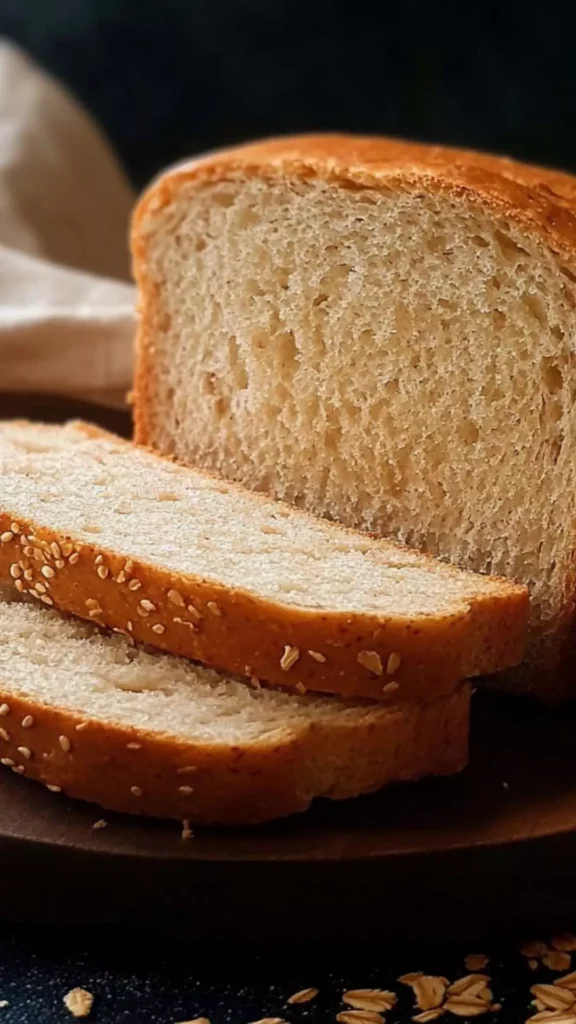
Before diving into the delectable recipe for Arby’s honey wheat bread, let’s think about what pairs well with this delightful creation. Slather on some butter and serve it with a warm bowl of homemade chili. Picture this: the rustic, sweet flavor of honey wheat bread contrasts beautifully with the spicy kick of the chili. Or perhaps slice it thin and use it for sandwiches.
Layer on your favorite meats, veggies, and a smear of mustard or mayo, and you have yourself a lunch that won’t disappoint. How about toasting it and topping with a colorful medley of bruschetta? All these ideas elevate the honey wheat bread experience. Now, let’s shift gears and explore this delicious recipe.

Arby’s honey wheat bread. Just the name evokes cozy memories of hearty meals and satisfying sandwiches. As a food enthusiast and a registered dietitian, I’ve often found myself craving this sweet and wholesome bread.
But why confine this delightful treat to restaurant visits? With a little insider knowledge and a few simple ingredients, I realized I could bring Arby’s honey wheat bread right into my kitchen. Join me on this culinary journey, where we’ll discover the secrets behind this fantastic recipe.
What is Arby’s Honey Wheat Bread?
At its core, Arby’s honey wheat bread is a soft, slightly sweet bread made with a variety of flours and sweeteners. The unique use of honey and whole wheat gives it a distinct personality. It’s perfect as sandwich bread but also enjoyable on its own. This recipe captures the essence of Arby’s original bread while allowing you to enjoy it fresh from your oven.
What is the Flavor Profile of This Dish?
Imagine biting into warm, soft bread that has a slightly sweet and nutty flavor. The honey adds just the right touch of sweetness. Meanwhile, the whole wheat gives it that wholesome taste. The combination creates a balanced flavor that’s neither overwhelmingly sweet nor bland. It’s comforting, yet sophisticated. You’ll likely find a hint of rich nuttiness coming through as well, making each bite a little adventure.
What Makes This Recipe Different from Other Arby’s Honey Wheat Bread Recipe?
What truly sets this recipe apart? It’s the attention to detail. First, we utilize a mix of both whole wheat and all-purpose flour for optimum texture and flavor. Adding honey is not just for sweetness; it also enhances the bread’s moisture, making it softer. The inclusion of apple cider vinegar contributes a slight tang that rounds off the flavor beautifully. Each ingredient plays a vital role, culminating in a loaf that rivals the beloved bread served at Arby’s.
Ingredients You’ll Need
To get started, gather the following items:
- 2 cups lukewarm water (110°F/45°C)
- 1 tablespoon active dry yeast
- 1 tablespoon ground flaxseed
- ⅓ cup pure honey
- 1 tablespoon apple cider vinegar
- 1 teaspoon sea salt
- ⅓ cup canola oil
- 2 cups whole wheat flour
- 5 cups all-purpose flour
These straightforward ingredients are commonly found in most kitchens, making this bread approachably simple.

Step by Step Directions
Step 1: Activate the Yeast
Start with the lukewarm water. Sprinkle the yeast over the surface of the water in a large bowl. Let it sit for about 5-10 minutes until it becomes frothy. This frothiness indicates that your yeast is alive and kicking, ready to create that fluffy texture we crave.
Step 2: Mix in the Sweet Stuff
With the yeast activated, it’s time to add in the honey, apple cider vinegar, and canola oil. Stir gently to combine everything together. The honey will not only sweeten the bread but also add moisture, while the vinegar will help the dough rise.
Step 3: Combine the Dry Ingredients
In a separate large bowl, combine the whole wheat flour, all-purpose flour, ground flaxseed, and sea salt. Mix these dry ingredients thoroughly. The flaxseed adds a boost of nutrition and a slight nutty flavor, making the bread even better.
Step 4: Form the Dough
Gradually add the dry ingredients into the wet mixture. Stir until a dough forms. You might need to switch to your hands here. Knead the dough for about 7-10 minutes on a lightly floured surface. It should become smooth and elastic. This kneading process is crucial. It develops gluten, giving your bread structure.
Step 5: Let It Rise
Shape the dough into a ball and place it in a lightly oiled bowl. Cover it with a damp cloth or plastic wrap. Let it rise in a warm place for about 1 hour, or until it doubles in size. This is the best part—patience pays off in fluffy bread.
Step 6: Shape the Loaves
After the dough has risen, punch it down to release any air bubbles. Divide the dough into two equal parts. Shape them into loaves and place them in greased bread pans. Cover the loaves again and let them rise for an additional 30 minutes.
Step 7: Bake the Bread
Preheat your oven to 350°F (175°C). Once the loaves have risen nicely, bake them for about 30-35 minutes. You will know they are done when they sound hollow when tapped on the bottom and are golden brown on top.
Step 8: Cool and Enjoy
Remove the bread from the oven and let it cool in the pan for about 5 minutes. Transfer to a wire rack to cool completely before slicing. Enjoy it fresh, or save some for later meals.
Tips on Making Arby’s Honey Wheat Bread
- Water Temperature Matters: Ensure that the water temperature is just right. Too hot will kill the yeast, while too cold will not activate it. Aim for lukewarm, around 110°F.
- Knead Well: Don’t rush the kneading process. Proper kneading develops gluten, crucial for bread structure.
- Rising Time: If your kitchen is cool, the dough may need more time to rise. Be patient and allow it to double.
- Store Properly: After cooling, store your bread in an airtight container or bag to keep it fresh. You can also freeze it if you want to save some for later.
- Experiment with Add-ins: Feel free to add seeds, nuts, or dried fruit for added flavor and texture.

Nutrition Information
arby’s honey wheat bread recipe nutrition facts
How Can I Store This Arby’s Honey Wheat Bread?
Once your bread is cooled, storing it properly is key to maintaining its freshness.
- Room Temperature: Keep the bread in an airtight bag or container for up to three days.
- Refrigerator: While not ideal for bread, if you live in a humid climate, a sealed container in the fridge can extend freshness.
- Freezer Option: If you want to save some for later, freeze the loaf by wrapping it tightly in plastic wrap and aluminum foil. It can last up to three months.
Substitutions for Ingredients
Sometimes, you might not have all the ingredients on hand. Here are some easy substitutes:
- Honey: Maple syrup can replace honey, offering a different but still delicious sweetness.
- Canola Oil: If canola oil is unavailable, try using olive oil or vegetable oil for similar results.
- Whole Wheat Flour: If you’re in a pinch, you can substitute all-purpose flour in equal measure, but this will change the flavor and texture slightly.
- Ground Flaxseed: For those who aren’t fans of flaxseed, you can leave it out or opt for chia seeds as an alternative.

Arby’s Honey Wheat Bread Recipe
Equipment
- Large bowl
- Damp cloth
Ingredients
- 2 cups lukewarm water 110°F/45°C
- 1 tablespoon active dry yeast
- 1 tablespoon ground flaxseed
- ⅓ cup pure honey
- 1 tablespoon apple cider vinegar
- 1 teaspoon sea salt
- ⅓ cup canola oil
- 2 cups whole wheat flour
- 5 cups all-purpose flour
Instructions
- Start with the lukewarm water. Sprinkle the yeast over the surface of the water in a large bowl. Let it sit for about 5-10 minutes until it becomes frothy. This frothiness indicates that your yeast is alive and kicking, ready to create that fluffy texture we crave.
- With the yeast activated, it’s time to add in the honey, apple cider vinegar, and canola oil. Stir gently to combine everything together. The honey will not only sweeten the bread but also add moisture, while the vinegar will help the dough rise.
- In a separate large bowl, combine the whole wheat flour, all-purpose flour, ground flaxseed, and sea salt. Mix these dry ingredients thoroughly. The flaxseed adds a boost of nutrition and a slight nutty flavor, making the bread even better.
- Gradually add the dry ingredients into the wet mixture. Stir until a dough forms. You might need to switch to your hands here. Knead the dough for about 7-10 minutes on a lightly floured surface. It should become smooth and elastic. This kneading process is crucial. It develops gluten, giving your bread structure.
- Shape the dough into a ball and place it in a lightly oiled bowl. Cover it with a damp cloth or plastic wrap. Let it rise in a warm place for about 1 hour, or until it doubles in size. This is the best part—patience pays off in fluffy bread.
- After the dough has risen, punch it down to release any air bubbles. Divide the dough into two equal parts. Shape them into loaves and place them in greased bread pans. Cover the loaves again and let them rise for an additional 30 minutes.
- Preheat your oven to 350°F (175°C). Once the loaves have risen nicely, bake them for about 30-35 minutes. You will know they are done when they sound hollow when tapped on the bottom and are golden brown on top.
- Remove the bread from the oven and let it cool in the pan for about 5 minutes. Transfer to a wire rack to cool completely before slicing. Enjoy it fresh, or save some for later meals.
Notes
- Water Temperature Matters: Ensure that the water temperature is just right. Too hot will kill the yeast, while too cold will not activate it. Aim for lukewarm, around 110°F.
- Knead Well: Don’t rush the kneading process. Proper kneading develops gluten, crucial for bread structure.
- Rising Time: If your kitchen is cool, the dough may need more time to rise. Be patient and allow it to double.
- Store Properly: After cooling, store your bread in an airtight container or bag to keep it fresh. You can also freeze it if you want to save some for later.
- Experiment with Add-ins: Feel free to add seeds, nuts, or dried fruit for added flavor and texture.
Nutrition
Frequently Asked Questions
Conclusion
Making Arby’s honey wheat bread at home is not only enjoyable but also deeply satisfying. The inviting aroma fills your kitchen, and the first bite takes you straight back to the restaurant experience. With simple ingredients, straightforward steps, and a little patience, you can create something truly special.
Whether you choose to use it for sandwiches, toasting, or enjoying plain, this recipe is sure to become a staple in your home. So roll up those sleeves, gather the ingredients, and bring the taste of Arby’s honey wheat bread directly to your dining table!


